I’ve been working on these collages for my 100-collages project for a little while, and I decided I wanted to do some other kinds of backgrounds than just fabric. I really enjoy wet felting, so I thought that I would make a new wet-felted background for a collage piece.
Here I’ll show you my process for making this piece of felt. This is just an overview, for a real tutorial you’ll want to search for Wet Felting online. There are tons of great tutorials on the internet, which is where I learned.
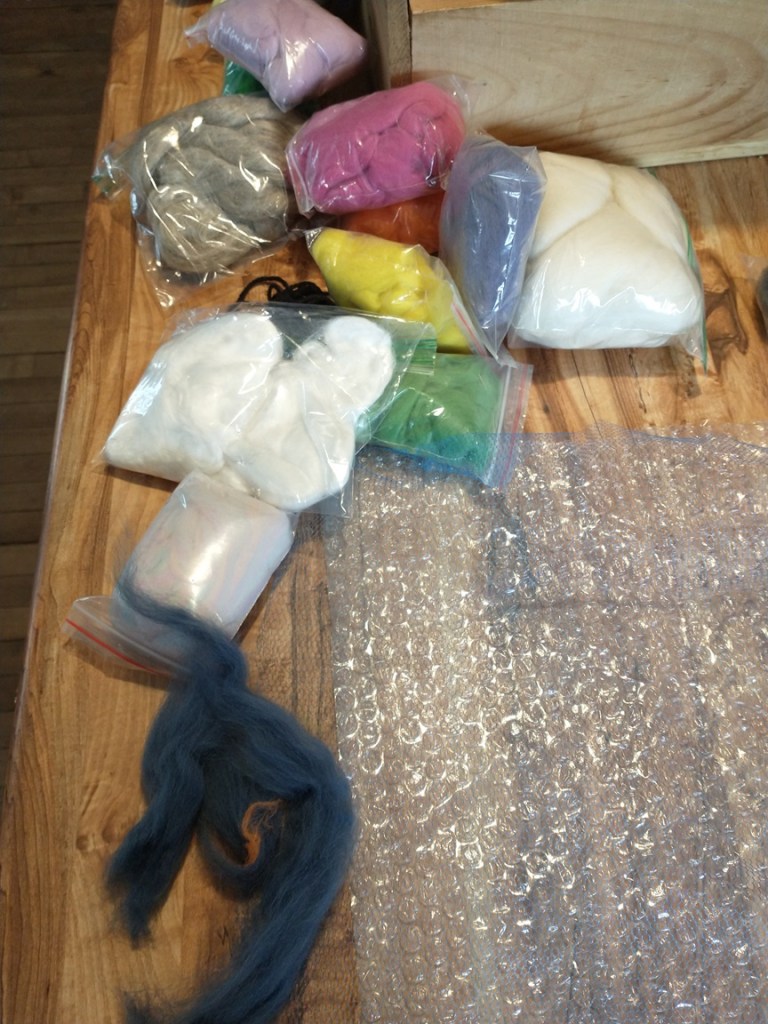
I started with different colors of wool roving, which is just carded wool – the pre-yarn stage of wool (roving is what they spin into yarn). I laid out some bubble wrap to create my piece on. The pieces always shrink, so you have to account for that when creating pieces – it depends on the roving you are using but I just estimated about a 40% shrinkage – that is average, I’ve read.
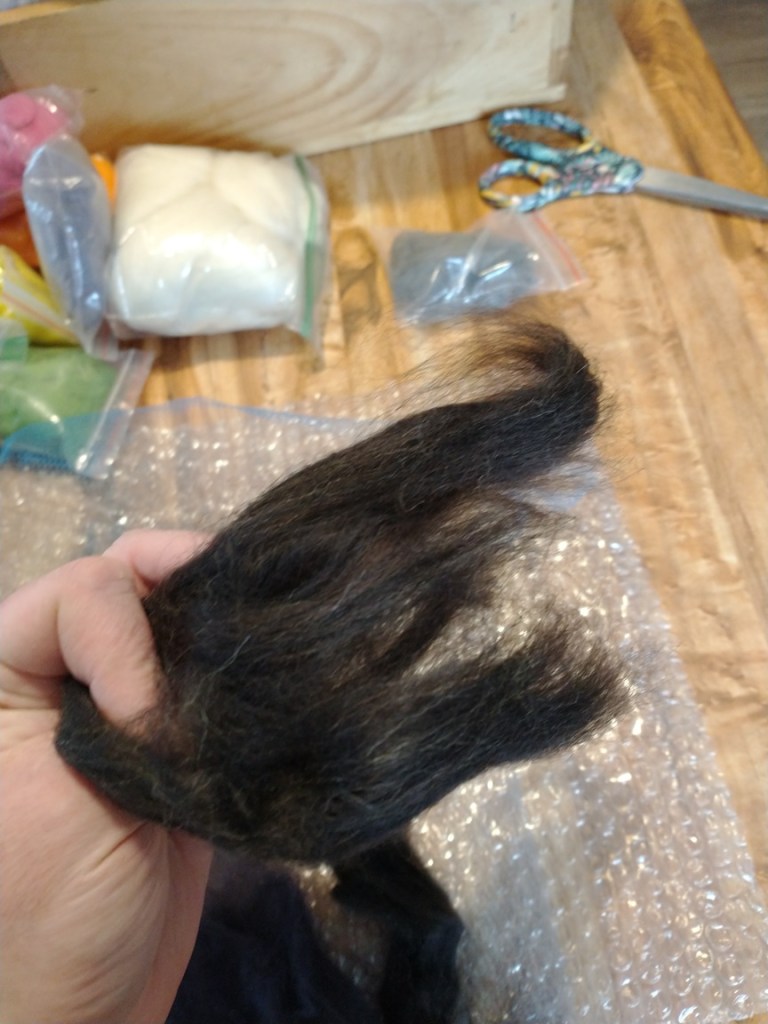
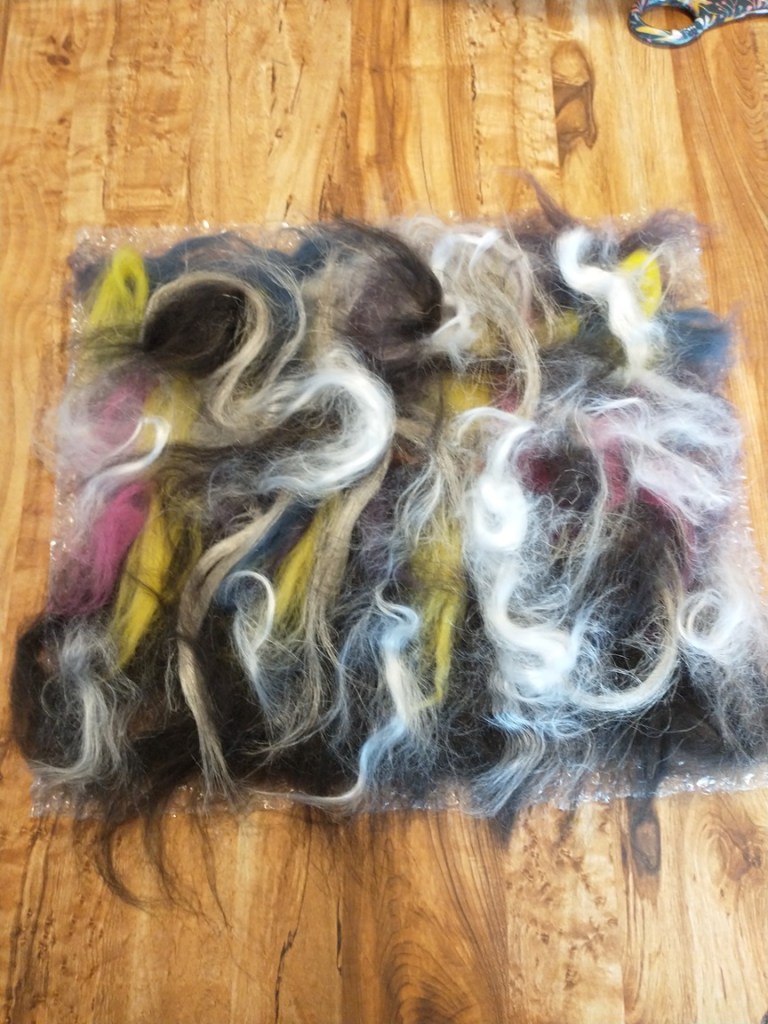
I wasn’t sure what I wanted to make, so I just went for an abstract layout. You can make it a scene or whatever you’d like. You lay out a couple layers of roving, one layer one way and then the 2nd or subsequent layers in another direction (depending on how thick you want your piece to be). You lay out your roving, and any embellishments you want – you can included yarns, other kinds of roving (non-wool), or other things – the wool will bind around the embellishments and hold them in place as you’re working.
Then you get the laid-out wool wet with hot water, and add soap. I wet my layout and then place a piece of tule over it, and run a bar of olive oil soap over the whole thing until I can tell the soap is getting into the wool a bit, and then remove my tule. I then put a second layer of bubble wrap on top (bubbles are facing your wool), and start rubbing it with my hands (agitating the wool).

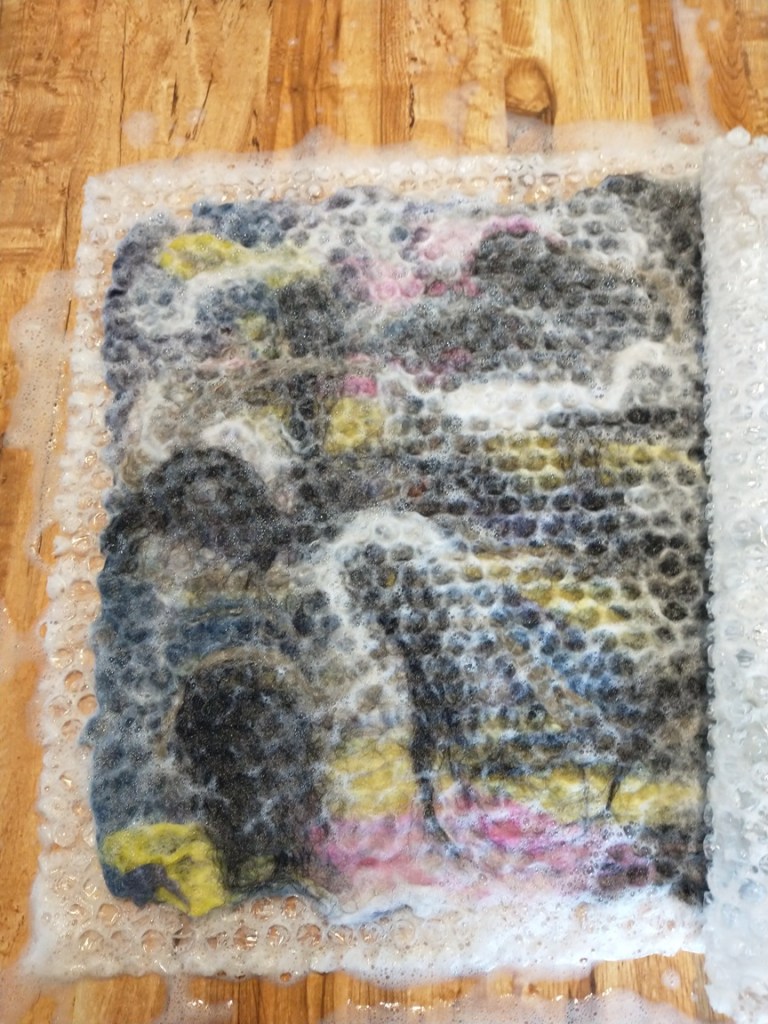
You keep agitating and flipping the whole package for awhile, and then you check the wool to see if it’s coming together – some people call this the pinch test – you pinch a bit and if it seems like the wool is all one piece instead of wisps of roving, then it’s ready for fulling. I will roll up the whole thing in a towel and roll it a few times to get some of the extra water out, and it also starts the fulling process.
Fulling is just twisting and rolling the wool until it shrinks up – you shrink it and then stretch, and then keep fulling and trying to stretch it, until it stops stretching. You can even pick it up and drop it on the counter as a way to full it. You will find that it’s done at usually around a 40% shrinkage – while you are fulling you will easily be able to tell it’s shrinking.
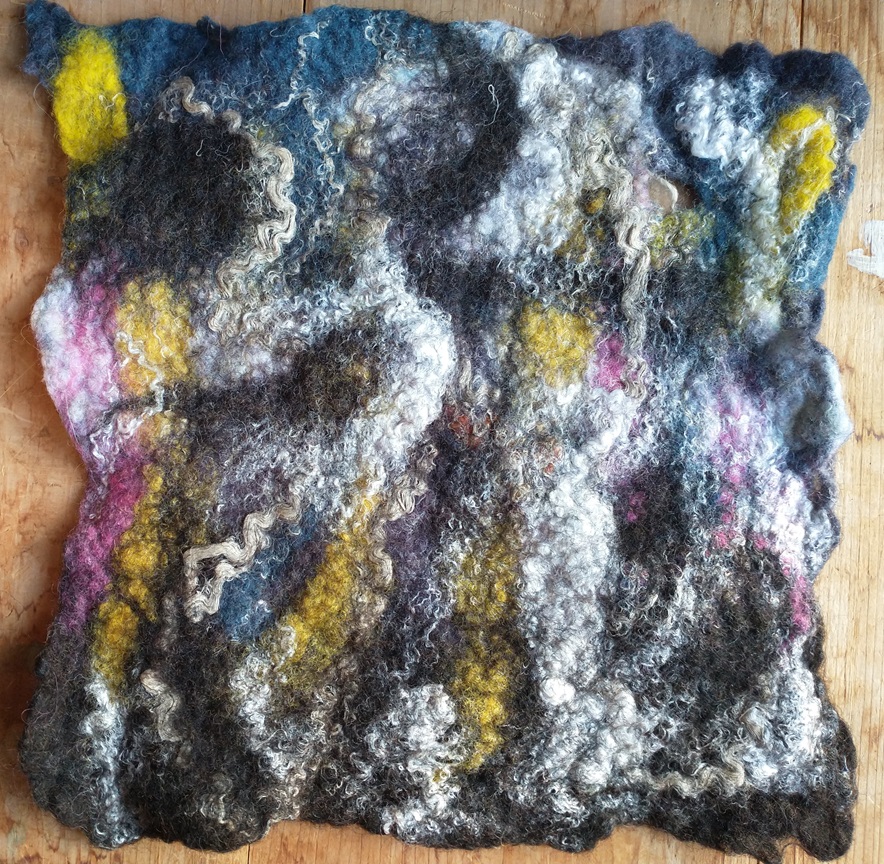
I think my original roving layout was around 11-12 inches square, and i ended up with approximately 7-8 inches square. This is just an estimate, I didn’t actually measure at all.
The whole piece took less than an hour to make. Some people count how many rubs they do, or how many times they roll it up – some people use pool noodles or rolling pins or bamboo blinds for rolling it up. There are many possibilities – a web search or youtube search will get you a wealth of ideas of how to do wet felting, and can help you to find a way that will work with what you might have on hand around the house. Then you just need to buy wool roving, which can be relatively inexpensive depending on where you get it.
After making the background I then proceeded to add stitches with yarn and embroidery floss:

Wet Felting is a lot of fun – I like to make plain white felt and then dye it with ecoprinting (botanical printing) or natural dyes, or make landscapes, or other things. You can use a resist and make vessels, hats, and even clothing with it. And wet felting fits right in with making mixed media art.